Lever-Action Chip Cutter for Homemade Chips and Fries
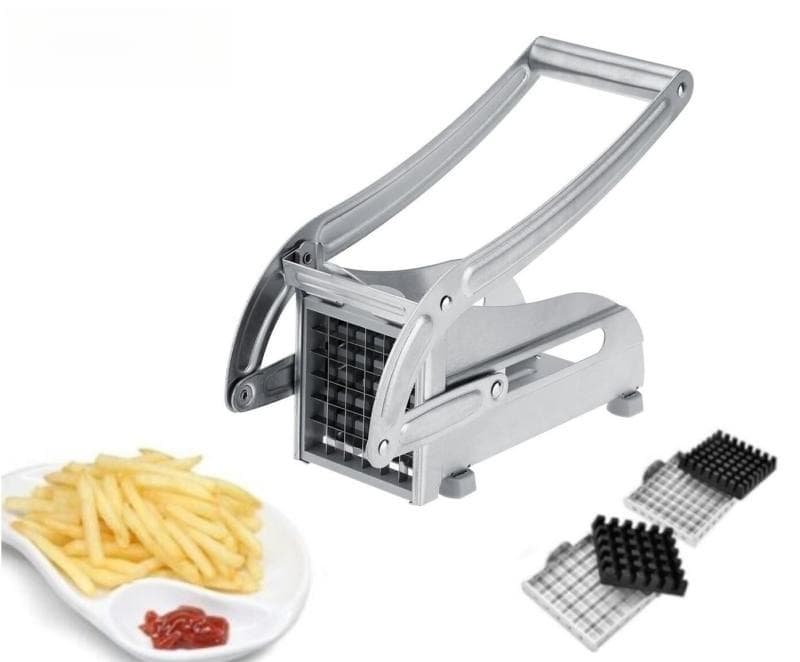
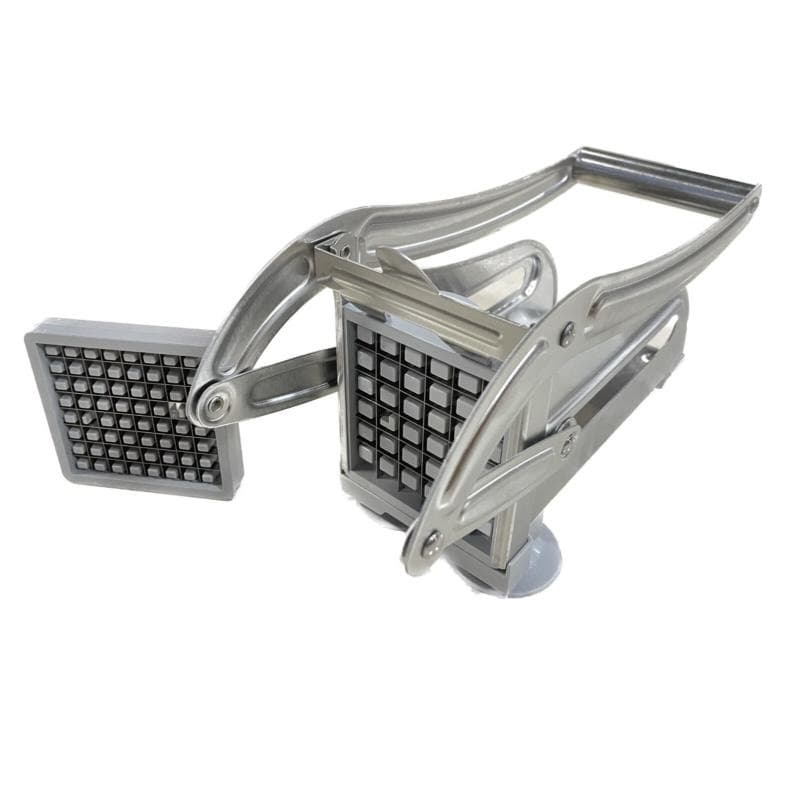
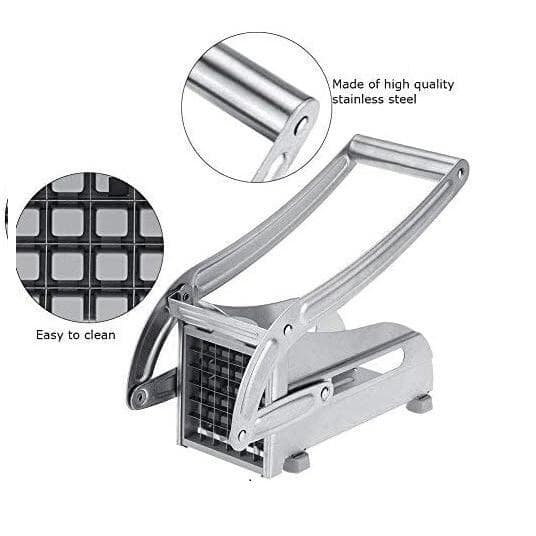
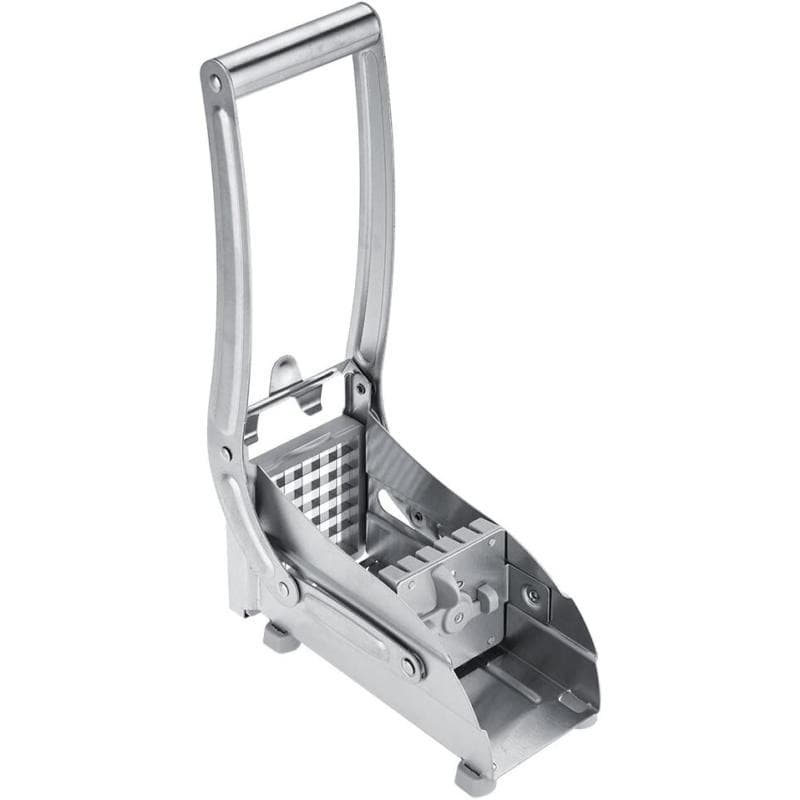
A manual lever-action chip cutter made from stainless steel, designed for cutting potatoes and similar vegetables into uniform chips or fries in a single downward press. Two interchangeable blade grids are included, giving the choice between a finer cut for slim fries and a coarser cut for chunkier chips. The extended ergonomic handle delivers the leverage needed to push through a whole potato cleanly without excessive effort. The stainless steel construction handles repeated use, and the blade grids swap in seconds to change cut sizes mid-session without tools or adjustments.
- Two Blade Grids Included: One slim-cut and one chunky-cut blade grid — switch between them in seconds to suit any recipe.
- Single-Press Lever Action: One downward press cuts a whole potato into uniform pieces without knife skills or hand strength.
- Full Stainless Steel Build: Frame, handle, and both blade grids are stainless steel for durability through repeated weekly use.
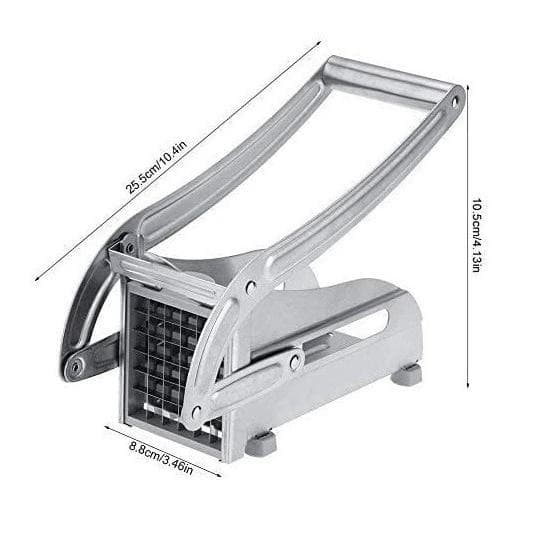
- Extended Ergonomic Handle: Handle length provides the mechanical advantage to cut through a full potato cleanly with minimal effort.
- Consistent Cross-Section: Every chip from the same potato is cut identically — uniform cooking and consistent texture every time.
Uniform Chips, Every Time
A lever-operated stainless steel chip cutter that pushes a whole potato through the blade grid in a single downward press, producing uniform chips or fries without the unevenness of hand-cutting. Two interchangeable blade grids are included — one for slimmer fries, one for chunkier chips — and swapping between them takes seconds. The stainless steel frame and extended handle are built for repeated batches without flex or fatigue.
Two Blade Sizes for Different Results
The finer grid produces slim, even fries suited to pan or deep frying. The coarser grid cuts thicker chips better suited to oven roasting or a deep-fat fryer. Both use stainless steel blades and stay sharp through regular use. Swap by removing the grid from the base plate and fitting the other — no tools required.
Setup and Maintenance
Place the cutter on a stable surface with a bowl or tray below the blade opening to catch the cut pieces. After each session, remove the blade grid and rinse under running water immediately before starch dries. Dry thoroughly before storage to protect the blade edges from rust. The frame wipes down with a cloth.